Filling pits and Porosity
Posted on
I've seen this question arise on a couple of discussion groups lately and rather than writing the same things over and over again I thought I'd write a post on the matter.
What to do with pits and/or porosity?
Thanks to modern casting technology, this isn't the common problem it used to be. In the old days it was much more common and holes had to be filled and pieces re-cast on a tediously regular basis. Nowadays it occurs so infrequently that I sometimes forget that the issue crops up occasionally. In fact, it's probably something that should have been included in Chapter 10 of our book which was published earlier this year.
So, what to do if it occurs? There are a number of approaches and there isn't a one-size-fits-all solution. The type and severity of the problem as well as the design and end use of the piece are all factors in selecting a solution.
The first thing I do is try and ascertain the extent of the problem. Have a poke at the hole(s) with a scriber or similar implement and see how bad it is. Perhaps the holes aren't deep, but if there's a cavity beneath the surface, you've got a bigger problem.
If it's severe and you have a mould, get a re-cast. It's not worth your time trying to fix it. Most casters will accommodate you if you bring the problem to their attention.
If you don't have a mould, i.e. this was a one-off or new carving, you don't have that option. Here are some others:-
-
Make it into a master. Finish the casting as best you can, attach a sprue, fill the holes with milliput or similar (Apoxie resin, polyfilla, or even superglue), sand smooth and make a mould. If you need the materials, you can scrap the original casting after. Fast and easy.
-
Laser. Often the caster will have a laser, if not there's plenty of people offering this service. Fairly easy option, but may not solve deeper issues.
-
Drill and plug. Drill a hole, insert a piece of wire, solder in place. Good for deeper problems. Possibly a problem for complex carvings as detail may be damaged by the process and may need to be repaired after plugging by filing, engraving, use of burrs etc. Good for larger holes.
-
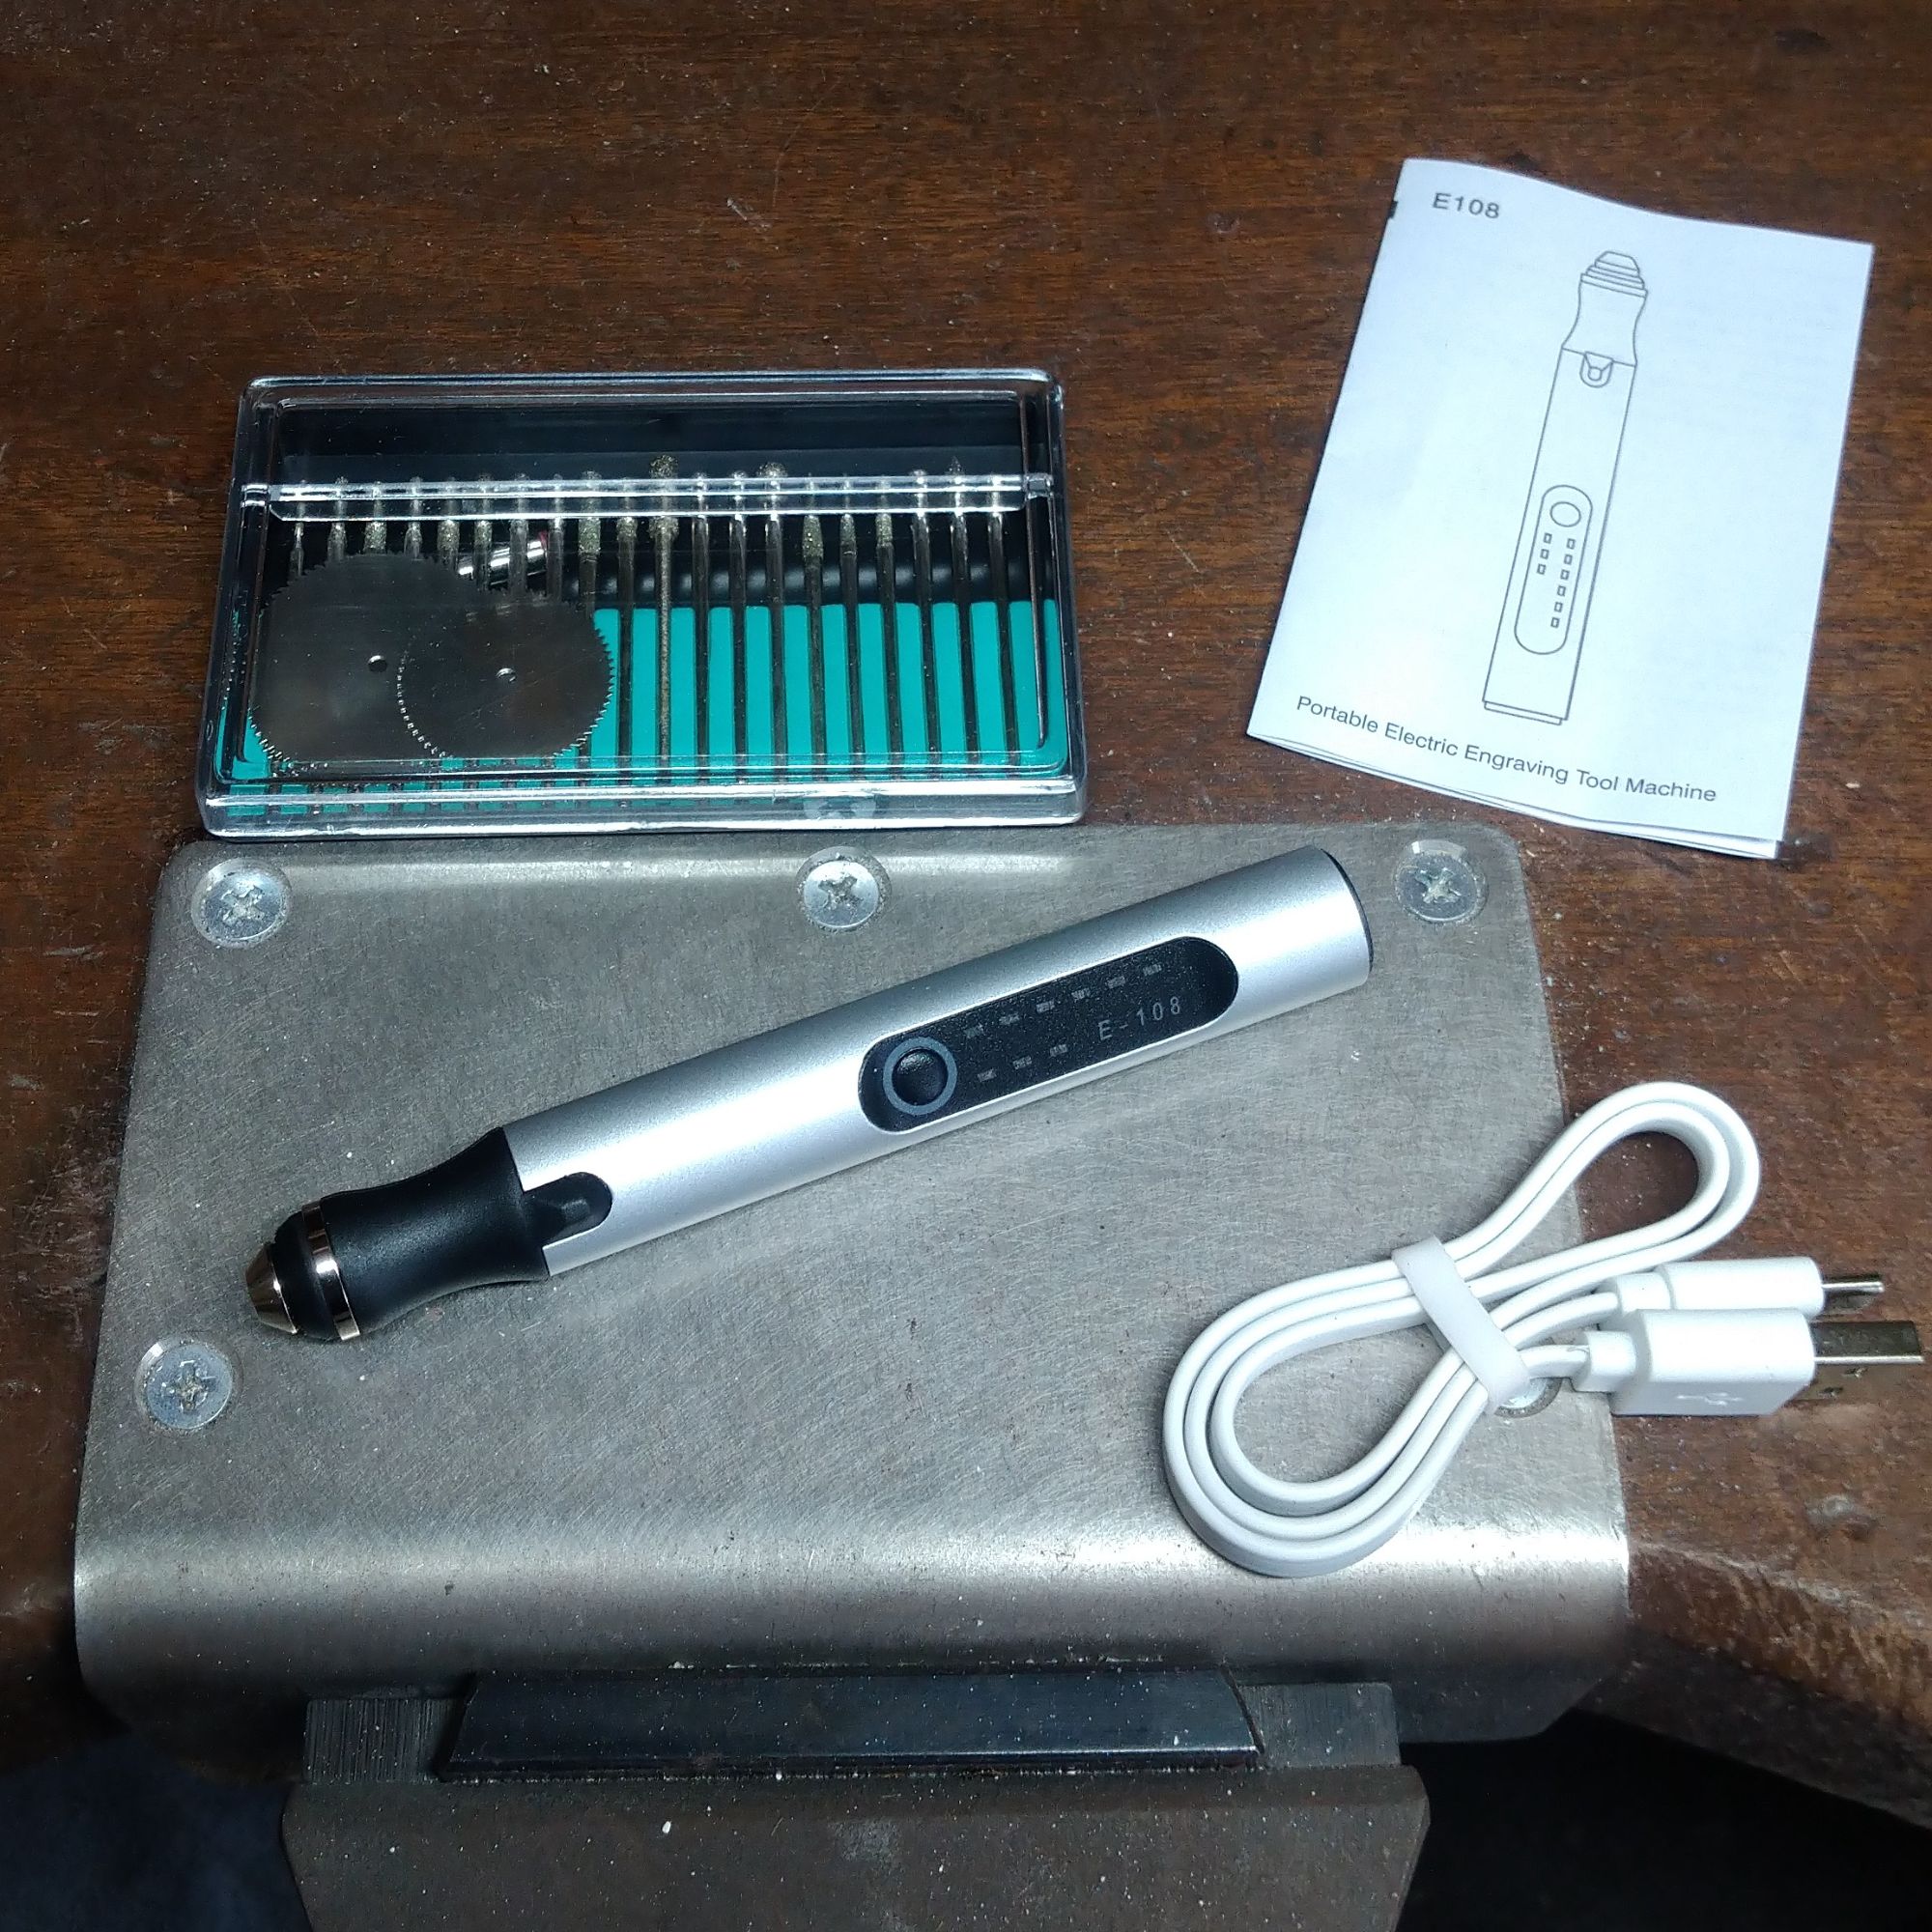
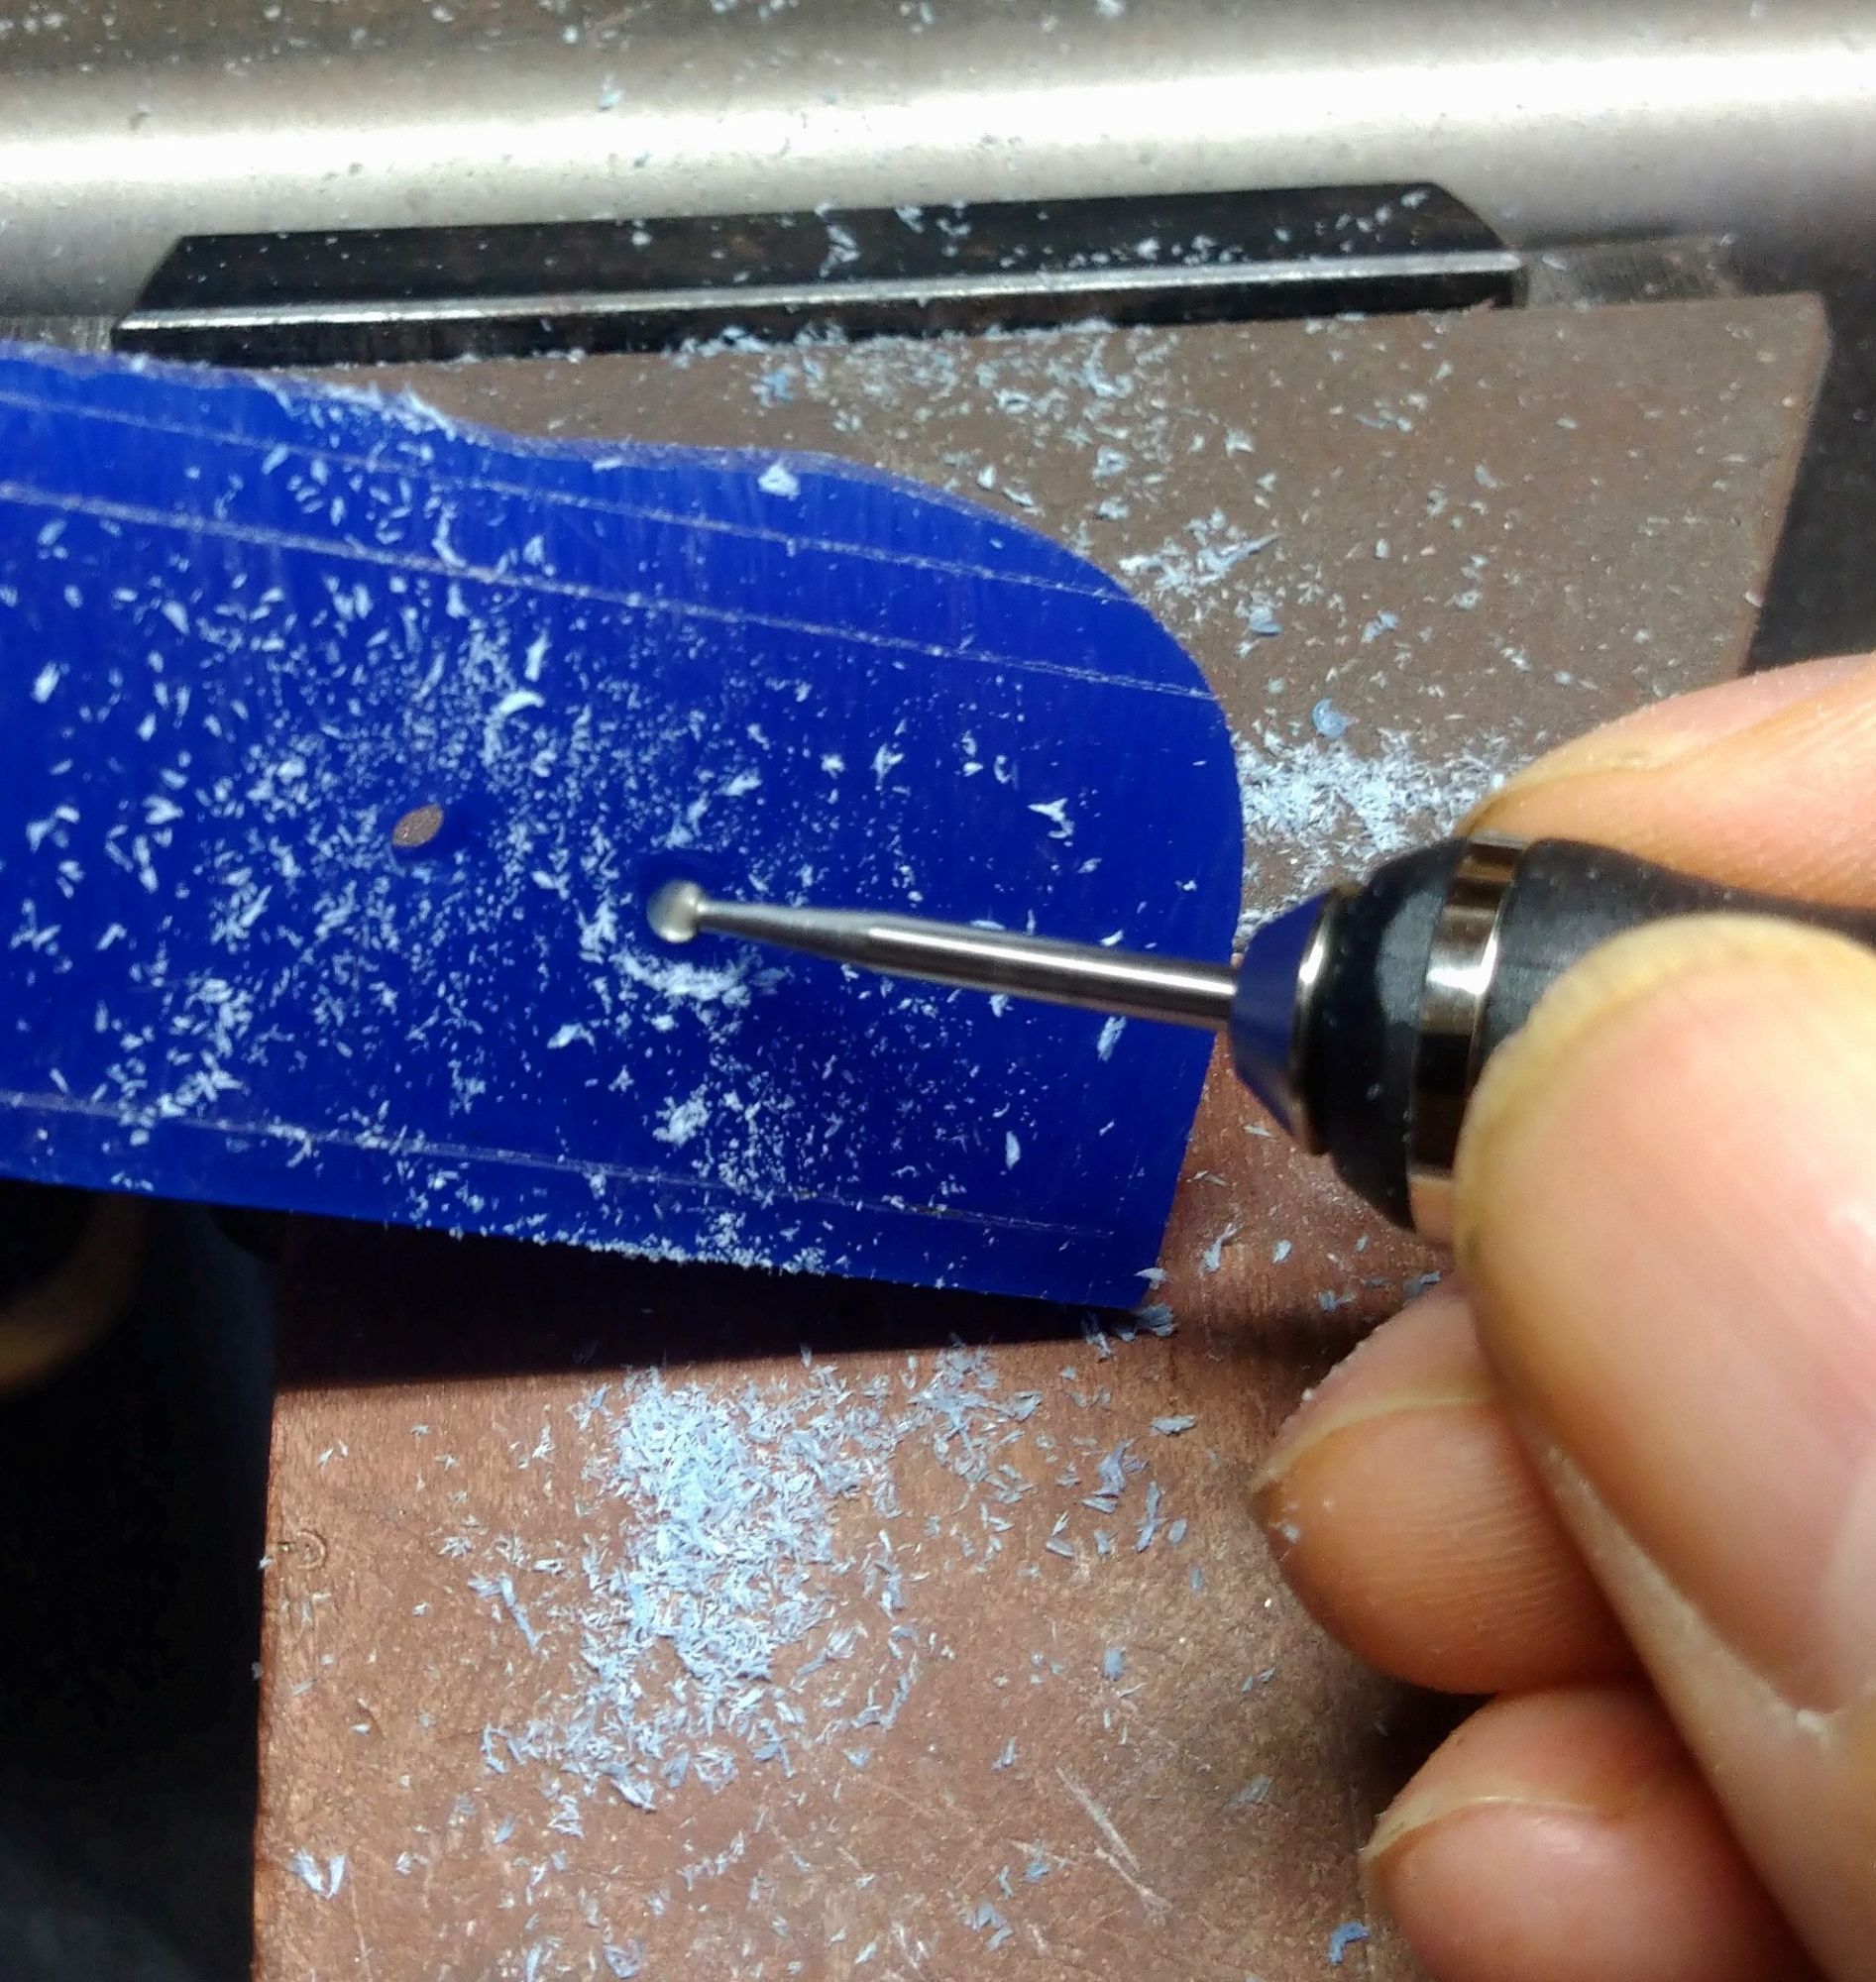
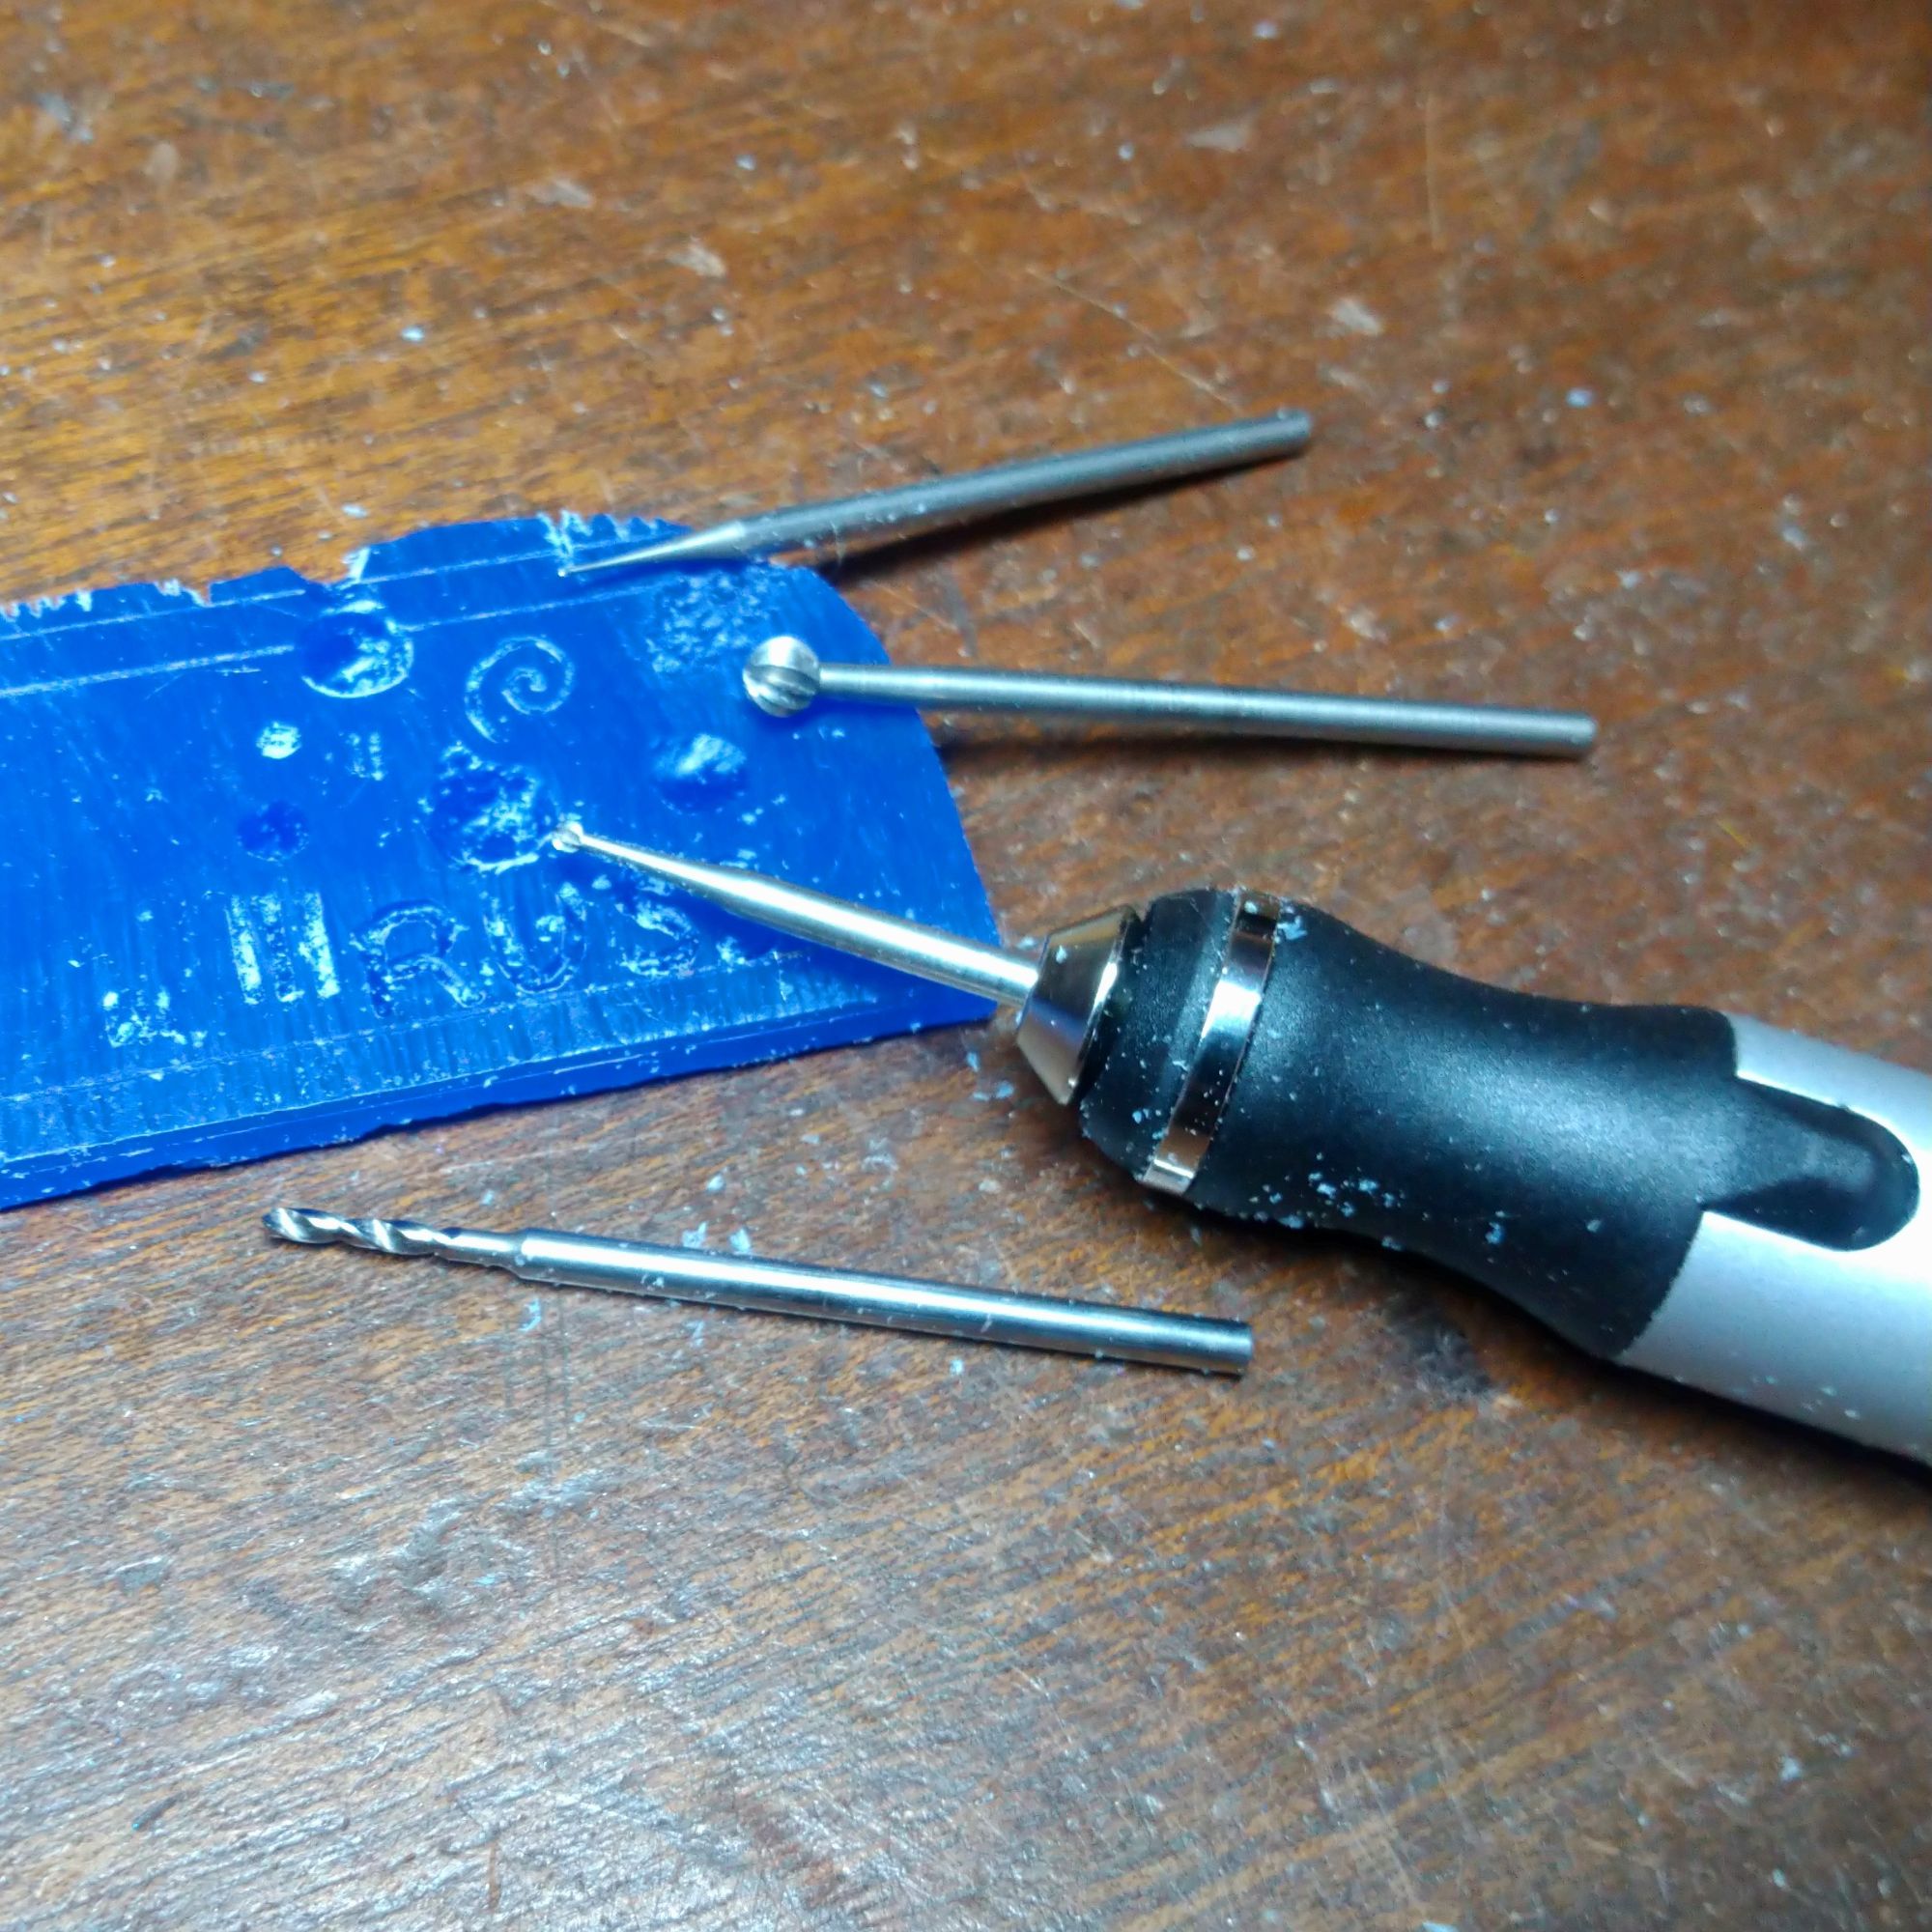
Flood. Flood the area with solder. Not my favourite. Make sure the pits are good an clean, so clean them out with tiny burrs, before fluxing. Dangers are flooding detail that will need fixing after. If the piece drinks up a lot of solder, you have deeper porosity. With enough solder you could even fail your hallmark.
-
Replace. Cut away the bad section and replace it. Easy enough on a plain ring shank, but potentially trickier for other pieces; could even require re-carving the section. Not ideal, but in certain circumstances better than starting from scratch.
Russell Lownsbrough FIPG
19th April 2021